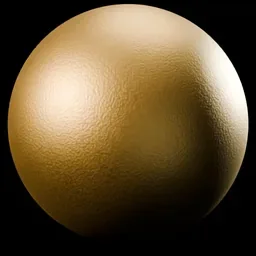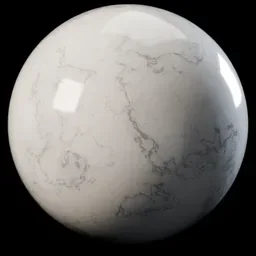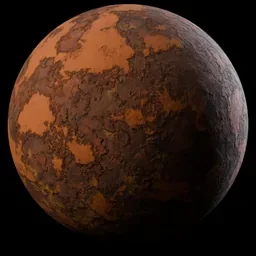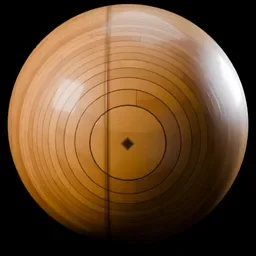
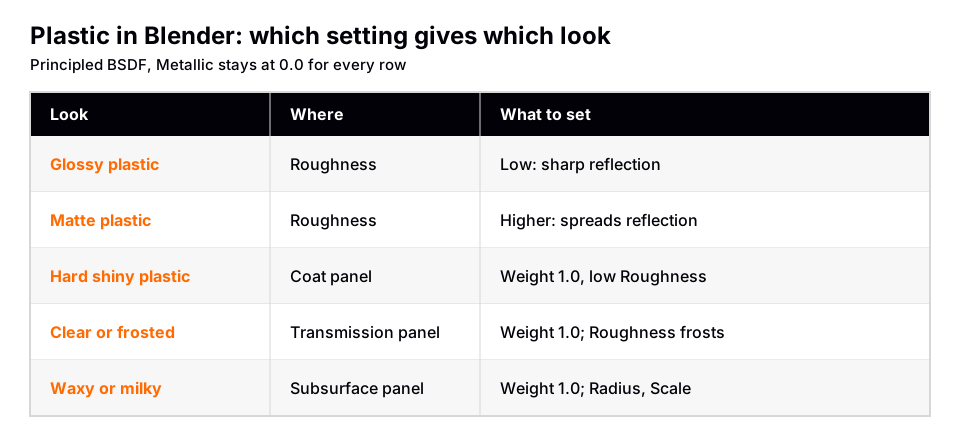
To make a plastic material in Blender, select the Principled BSDF node, set Metallic to 0.0, choose a Base Color, and set Roughness: low for glossy plastic, higher for matte. At Metallic 0.0 the manual says the material has a diffuse or transmissive base layer with a specular reflection layer on top, which is the structure of a plastic surface.
This guide covers the full plastic blender material setup, a node-based version with a Fresnel mix, hard glossy coats, clear and translucent plastic, and why plastic often looks like clay or metal. It follows the Blender 5.2 LTS manual and notes where Cycles and EEVEE differ.
How to make a plastic material in Blender
- Select the object and open the Material Properties tab in the Properties editor. Click New if it has no material.
- Open the Shading workspace. The Shader Editor shows the Principled BSDF, and the 3D Viewport can use Material Preview or Rendered shading.
- Set Metallic to 0.0. The manual says Metallic blends between a dielectric and a metallic model. A value of 1.0 removes the diffuse reflection, which is the opposite of what plastic needs.
- Pick the Base Color. The manual says Base Color is used for diffuse, subsurface, metal and transmission. For solid plastic it is the visible color of the part.
- Set Roughness. The manual says 0.0 gives a perfectly sharp reflection and 1.0 gives a diffuse reflection. As a starting point, our suggestion is about 0.1 to 0.3 for glossy plastic and about 0.5 to 0.7 for matte. Those two ranges are ours, not manual values.
- Leave IOR at the default. The manual says the default of 1.5 is a good approximation for glass. It gives no separate value for plastic, so we do not either.
- Leave Specular Tint white. The manual says that in reality non-metallic specular reflection is fully white, and that the Tint input gives artistic control over it.
- Give it light. Plastic shows highlights from its surroundings. Use an HDRI, as in how to use an HDRI in Blender, or lights.
You should now see a solid-colored surface with a soft reflection of the environment on top. If it reads as flat clay, lower Roughness. If it reads as metal, check Metallic.
Glossy plastic versus matte plastic
The difference between a glossy and a matte plastic is mostly Roughness. A low value gives a sharp, bright highlight. A high value spreads that highlight out into a dull sheen. The strength of the reflection is a separate control.
- Specular › IOR Level. The manual says it adjusts the IOR to increase or decrease the intensity of the specular layer. 0.5 means no adjustment, 0 removes all reflections, and 1 doubles them at normal incidence.
- Diffuse › Roughness (Cycles only). The manual says 0.0 gives standard Lambertian reflection and higher values activate the Oren-Nayar BSDF. This changes the base color's look, not the highlight.
Most plastics fall between two extremes, so change one value at a time and compare in Rendered view.
Hard, shiny plastic with a Coat
For a shiny finish over a duller body, such as painted or lacquered plastic, use the Coat panel. The manual says Coat sits on top of the other layers to simulate a clearcoat, lacquer or car paint. It has Weight, Roughness, IOR, Tint and Normal. Set Weight to 1.0, which the manual says should typically be zero or one for physically based materials, and keep Coat Roughness low.
The Coat has its own Normal input. The manual notes this is useful to add a smooth coating on a rough surface, so you can bump the body without bumping the coat.
A node-based plastic: diffuse plus glossy
You do not need the Principled BSDF for plastic. The manual describes the layered idea in two places. The Layer Weight node page says its Fresnel output is useful for layering diffuse and glossy shaders to create a plastic material. The Fresnel node page says a two-layered material with a diffuse base and a glossy coating uses a Mix Shader, with Fresnel as the blending factor.
- Add a Diffuse BSDF and a Glossy BSDF.
- Add a Mix Shader. Connect the Diffuse BSDF to the first Shader input and the Glossy BSDF to the second.
- Add a Layer Weight node and connect its Fresnel output to the Mix Shader's Factor.
- Connect the Mix Shader to the Surface input of the Material Output.
The manual says Factor uses the first shader entirely at zero and the second at one. Fresnel weight indicates the probability that light reflects off the layer instead of passing through, so the glossy layer dominates at grazing angles. The Layer Weight node has a Blend input and takes values in the 0.0 to 1.0 range, which the manual calls often more convenient than the Fresnel node's IOR. For more on how node wiring works, see Blender material nodes.
Clear, frosted and translucent plastic
Not all plastic is opaque. The manual gives two base-layer options.
- Transmission. Set Transmission › Weight to 1.0 for clear plastic. Roughness above 0 frosts it. The manual describes Transmission as used to render materials like glass and liquids, so clear plastic behaves like glass with different settings. Our glass material guide covers the EEVEE and Cycles settings it needs.
- Subsurface. Set Subsurface › Weight to 1.0 for waxy or milky plastic. The manual says subsurface scattering renders materials such as skin, milk and wax, and that light scatters below the surface to create a soft appearance. Radius sets how far light scatters, and Scale scales that radius.
The Subsurface Method list has Christensen-Burley and, in Cycles only, Random Walk variants. The manual says Random Walk uses true volumetric scattering and works best for closed meshes. In EEVEE, subsurface and refraction use the Thickness value, which you set in Properties › Material › Thickness.
Adding texture to plastic
Real molded plastic often has a fine grain or small flaws. Connect a Noise Texture to the Height input of a Bump node, then connect the Bump node's Normal output to the Principled BSDF's Normal input. The manual says Bump generates a perturbed normal from a height texture, with Strength and Distance controls. A small Strength is usually enough. You can also drive Roughness with a texture so the surface has some uneven shine. That roughness idea is our suggestion, not a manual recipe. For image textures, see white PBR textures in Blender.
Plastic in EEVEE versus Cycles
- Diffuse Roughness is Cycles only.
- Random Walk subsurface methods are Cycles only. Christensen-Burley is listed without that label.
- The manual says all BSDFs in EEVEE use approximations, so small differences from Cycles always exist.
- The EEVEE limitations page says light probe capture does not support specular reflections, which affects how highlights appear in light-probe-based indirect lighting.
Why your plastic looks wrong
- It looks like metal. Metallic is above 0. Plastic is a dielectric, so keep Metallic at 0.0.
- It looks like clay. Roughness is too high, IOR Level is too low, or the lighting is flat. Lower Roughness and add a bright source or an HDRI with contrast.
- It looks too perfect. Add a small Bump or Roughness variation, as above.
- It looks like glass. Transmission Weight is above 0. Set it to 0 for solid plastic.
- It is too bright or too dark. Check the Base Color and IOR Level, and remember that Emission is separate from color.
If the material does not show at all, start with Blender material basics.
Skip the node wiring with the Material & Lighting Vault
Plastic is easy to start and hard to make look real. The Material & Lighting Vault is a Blender 5.2+ extension (the Metalight tab in the N panel) with 1,690 procedural materials: 1,000 core materials in 32 categories plus 690 Pro. They work in Cycles and EEVEE and need no UVs, since they use object coordinates by default (a Use UV option exists).
For plastic that has been used, the Vault also includes 67 weathering presets (rust, moss, snow, soot, cracks, edge wear) that work on any material, including the plastic you built above. Its 267 studio lights, such as softboxes and beam profiles, give glossy plastic the highlights it needs. The set totals about 64 MB. The license covers personal and commercial use, without redistribution. It is a tool, not a course.
Questions people also ask
How do I make plastic in Blender?
Use a Principled BSDF with Metallic 0.0, a Base Color and a Roughness. Low Roughness gives glossy plastic and higher values give matte plastic.
How do I make glossy plastic in Blender?
Lower Roughness so the reflection is sharper, and optionally set Coat Weight to 1.0 for a lacquer-like layer. Give the scene an HDRI or lights so there is something to reflect.
How do I make matte plastic in Blender?
Raise Roughness. In Cycles you can also raise Diffuse Roughness, which the manual says activates the Oren-Nayar model for the diffuse part.
How do I make translucent plastic in Blender?
For clear plastic, set Transmission Weight to 1.0. For waxy or milky plastic, set Subsurface Weight to 1.0 instead.
Why does my plastic material look like metal?
Metallic is above 0. At 1.0 the manual says the surface is a fully specular reflection tinted by the base color, with no diffuse part.
How we checked this
We did not run Blender for this guide. We read these pages on November 4, 2026, and wrote only what they confirm:
- Blender Manual (5.2 LTS), read November 4, 2026: Principled BSDF, Layer Weight, Fresnel, Mix Shader, Diffuse BSDF, Subsurface Scattering, Bump, EEVEE Material Settings and EEVEE Limitations.
The manual lists no IOR, Roughness or color values for plastic, so the Roughness ranges above are our starting suggestions. We also could not confirm differences between Blender 4.x and 5.x for these nodes.